I have been using Firefox’s inbuilt password manager for quite some time and was quite happy with how it worked. However I recently received alerts from various accounts regarding suspicious login attempts from various places I have never been, so I started looking for something more secure and feature-rich and learned about bitwarden. I got my hands on the oracle cloud free-tier and was able to spin up a compute instance and since it fit the bill, I decided to use it as the host for my password manager.
Digging around a bit led me to vaultwarden, an Unofficial Bitwarden compatible server written in Rust for lightweight installations. Since my server has a mere gigabyte of RAM this seemed perfect for me. Here are the steps that I took to install it properly including HTTPS support and disallowing account creation.
The Linux Server I am using here is an Ubuntu Server 20.04. Feel free to adjust according to your Distribution. You also require a domain name to properly setup SSL.
Installing Things
We need to firstly install some softwares that will help us setup the vaultwarden service.
- First install docker
$ sudo apt-get install apt-transport-https ca-certificates curl gnupg-agent software-properties-common
$ sudo curl -fsSL https://download.docker.com/linux/ubuntu/gpg | sudo apt-key add -
$ sudo add-apt-repository "deb [arch=amd64] https://download.docker.com/linux/ubuntu $(lsb_release -cs) stable"
$ sudo apt-get update
$ sudo apt-get install docker-ce docker-ce-cli containerd.io
$ sudo systemctl enable --now docker- Replace user in the next command to your usename to give docker user permissions
$ sudo usermod -aG docker user- Check if docker is properly configured using
$ docker run hello-world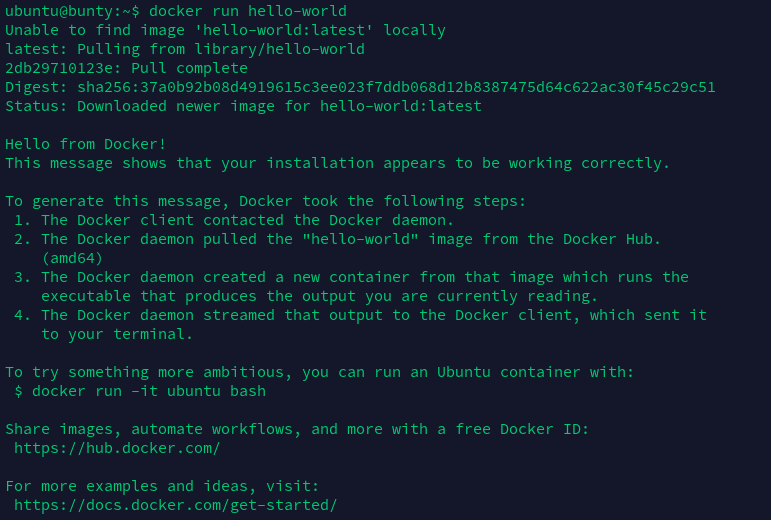
If you see a message like this, you have successfully installed and configured docker.
- Now pull vaultwarden’s docker image
$ docker pull vaultwarden/server:latest- Now we will install certbot to help us generate a SSL certificate using LetsEncrypt
$ sudo snap install --classic certbot
$ sudo ln -s /snap/bin/certbot /usr/bin/certbot- We will also install nginx to help us create a reverse proxy to talk to vaultwarden over HTTPS
$ sudo apt install nginxSetting up certbot
- Get the DNS auth file and set it up
$ wget https://gist.githubusercontent.com/themayankjha/a1ce7e0d9358ea39ea912a9cb9f3a400/raw/434c03aec373b8ad625fdc5883b77a8e8d1ffb99/auth.py
$ chmod +x auth.py
$ mkdir /etc/letsencrypt
$ sudo mv auth.py /etc/letsencrypt/
Use your Domain name provider to change your DNS settings and point your domain/subdomain to the IP Address of the Server.
- Execute the auth file to create a request and replace vault.example.com with your domain
$ sudo certbot certonly --manual --manual-auth-hook /etc/letsencrypt/auth.py --preferred-challenges dns --debug-challenges -d \*.vault.example.com -d vault.example.comIt will promt you to add a CNAME to your DNS. After Adding the Record Press Enter. You will see something like this :
Congratulations! Your certificate and chain have been saved at
    /etc/letsencrypt/live/vault.example.com/fullchain.pem
Your key file has been saved at
    /etc/letsencrypt/live/vault.example.com/privkey.pem
If it fails due just wait a few minutes and run the command again. It is likely due to dns replication timings.
- Test the automatic certificate generation to check if cerbot is properly configured
$ sudo certbot renew --dry-runYou should see something Like this
Congratulations, all simulated renewals succeeded:
  /etc/letsencrypt/live/vault.example.com/fullchain.pem (success)
You have successfully configured your SSL Certificate.
Setting up vaultwarden and Nginx
- Start the vaultwarden container on any port, I use port 8080
$ docker run -d --name vaultwarden -v /vw-data/:/data/ -p 8080:80 -p 3012:3012 vaultwarden/server:latest- Setup Nginx by creating a conf file
$ sudo nano /etc/nginx/conf.d/vaultwarden.confChange the ports and the domain/subdomain according to your configuration :
server {
  listen 443 ssl http2;
  server_name vault.example.com;

  ssl_certificate /etc/letsencrypt/live/vault.example.com/fullchain.pem;
  ssl_certificate_key /etc/letsencrypt/live/vault.example.com/privkey.pem;

  # Specify SSL config if using a shared one.
  #include conf.d/ssl/ssl.conf;

  # Allow large attachments
  client_max_body_size 128M;

  location / {
    proxy_pass http://127.0.0.1:8080;
    proxy_set_header Host $host;
    proxy_set_header X-Real-IP $remote_addr;
    proxy_set_header X-Forwarded-For $proxy_add_x_forwarded_for;
    proxy_set_header X-Forwarded-Proto $scheme;
  }

  location /notifications/hub {
    proxy_pass http://127.0.0.1:3012;
    proxy_set_header Upgrade $http_upgrade;
    proxy_set_header Connection "upgrade";
   }

  location /notifications/hub/negotiate {
    proxy_pass http://127.0.0.1:8080;
  }

}- Restart nginx for the config to take effect
$ sudo systemctl restart nginxNow goto your website https://vault.example.com/ and if you can see the bitwarden login page Congratulations! you have successfully managed to install vaultwarden.
If you cannot see the login page, make sure port 443 is open on your server. Also make sure ufw or iptable allows connections on port 443. I wasn’t able to get my page to work properly because iptables wasn’t configured to allow connections on 443: I solved it using:
$ sudo iptables -I INPUT 6 -m state --state NEW -p tcp --dport 443 -j ACCEPTCreate your account on the same page.
Disabling User Sign Up
Make sure to create an account for yourself before proceeding as you wont be able to create accounts after this.
- Stop the vaultwarden container and remove it
$ docker stop vaultwarden
$ docker rm vaultwarden- Run the conainer once more with same data directory but with SIGNUPS_ALLOWED environment variable as false
$ docker run -d --name vaultwarden -v /vw-data/:/data/ -e SIGNUPS_ALLOWED=false -p 8080:80 -p 3012:3012 vaultwarden/server:latestNow account creation is disabled and noone else can create an account.
Congratulations you now have a working, self-hosted password manager on your own server! you can use the standard bitwarden app for Android/IOS as well as the bitwarden extensions to use your password manager.
Sources
https://www.llewellynhughes.co.uk/post/installing-vaultwarden/
https://github.com/joohoi/acme-dns-certbot-joohoi
https://www.linode.com/docs/guides/how-to-self-host-the-vaultwarden-password-manager/
https://certbot.eff.org/lets-encrypt/ubuntufocal-nginx